how to draw a lamp
Lamps are a common household appliance that may seem simple but can have many uses.
They not only help to provide light for activities like reading or late-night repairs but can also be stylish in their design in a way that helps them to decorate the room they light up.
With so many styles of lamps to acquire, learning how to draw a lamp can be a great way to design your own variations.
This is the guide to be on if that sounds like something you would like to do.
Our step-by-step guide on how to draw a lamp in 6 steps will shed some light on the process and have you creating your own cool lamp designs!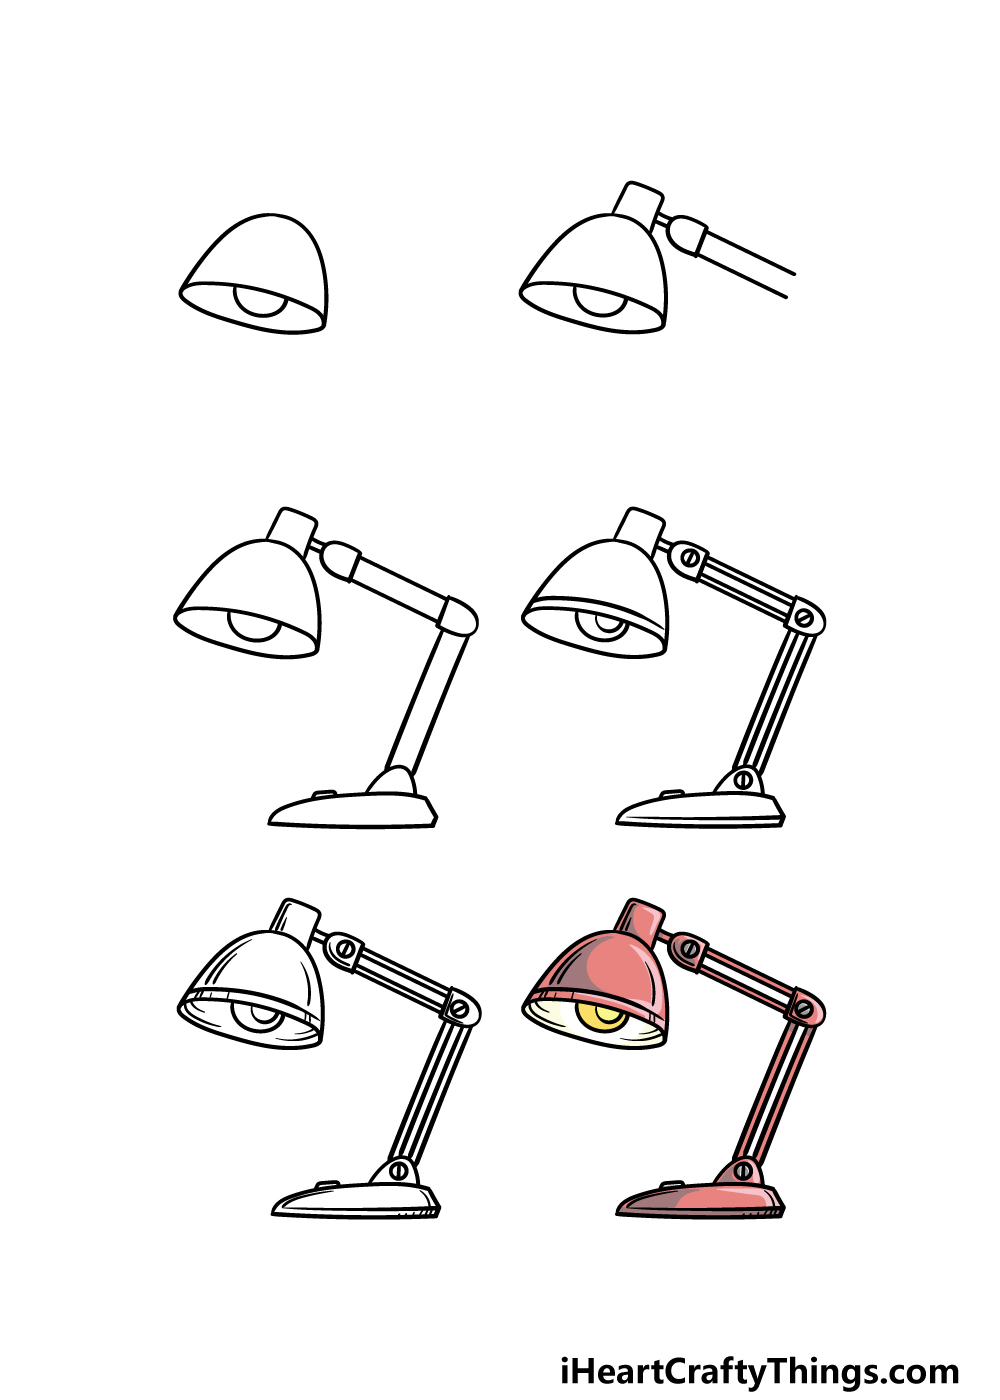
What's in this Blog Post
- How to Draw A Lamp – Let's Get Started!
- Step 1
- Step 2 – Next, draw the start of the lamp arm
- Step 3 – Draw the rest of the arm and base
- Step 4 – Now, keep adding more detail to the lamp
- Step 5 – Finish off your lamp drawing
- Step 6 – Finish off your lamp drawing with some color
- Your Lamp Drawing is Complete!
How to Draw A Lamp – Let's Get Started!
Step 1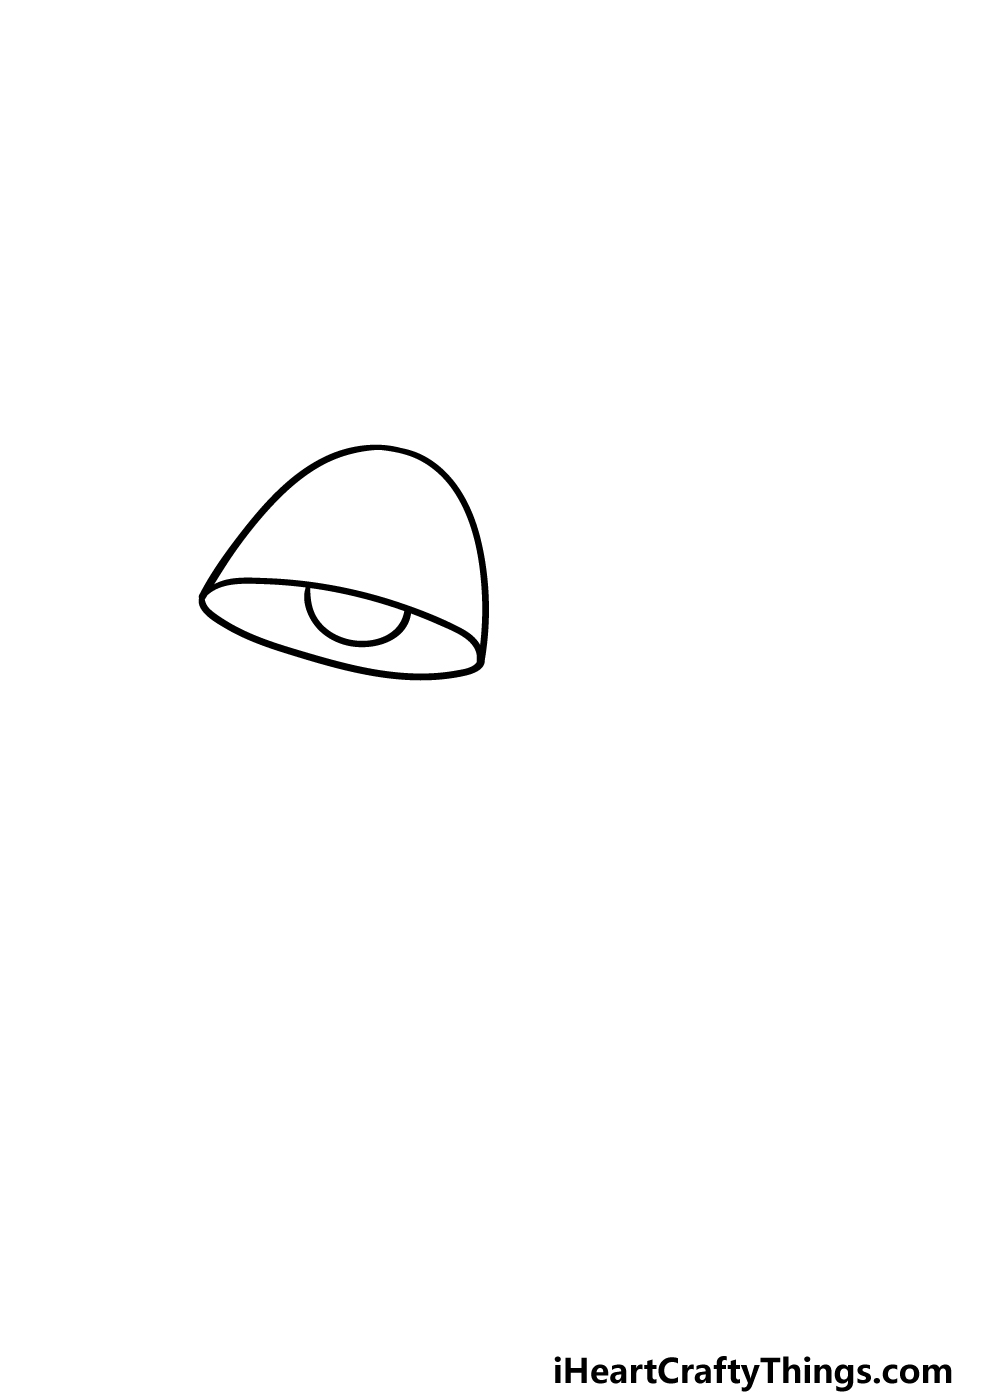
To get this guide on how to draw a lamp started, we will begin with the light itself. You can start this by drawing a rounded line for the top of the light covering.
Then, you will be able to draw a flat semi-circle at the base of it for the opening of the lamp.
It wouldn't be much of a lamp without a bulb to provide some light, so we will end this step by drawing that very bulb.
You can draw this bulb by drawing another rounded line inside the opening of the lamp. Once you're happy with how it looks, we can then move on to step 2!
Step 2 – Next, draw the start of the lamp arm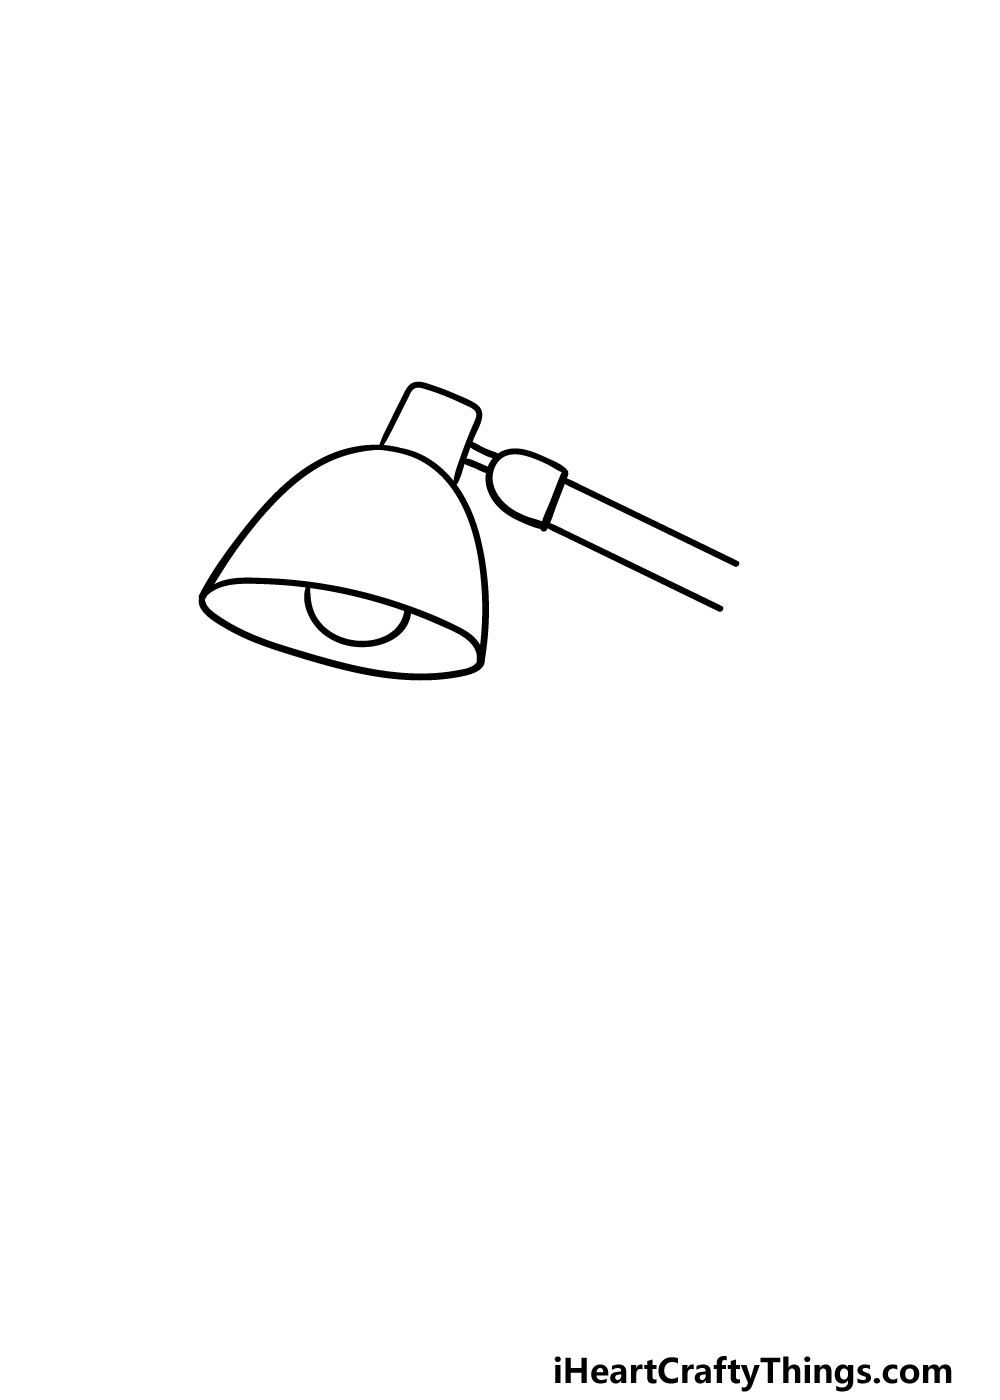
Many lamps will have an adjustable arm that allows you to position it as you need. We will begin the arm for your lamp drawing in this next step.
First, you can begin by drawing a square shape on top of the lamp head where the arm will attach.
There will then be two short lines coming off of that square shape, and these will attach to another shape that is rounded on one side with a straight edge on the other.
For the final part of this step, you may want to use a ruler to get some perfectly straight lines. Once you're ready, simply extend some straight lines off of the previous shape that you just drew.
Step 3 – Draw the rest of the arm and base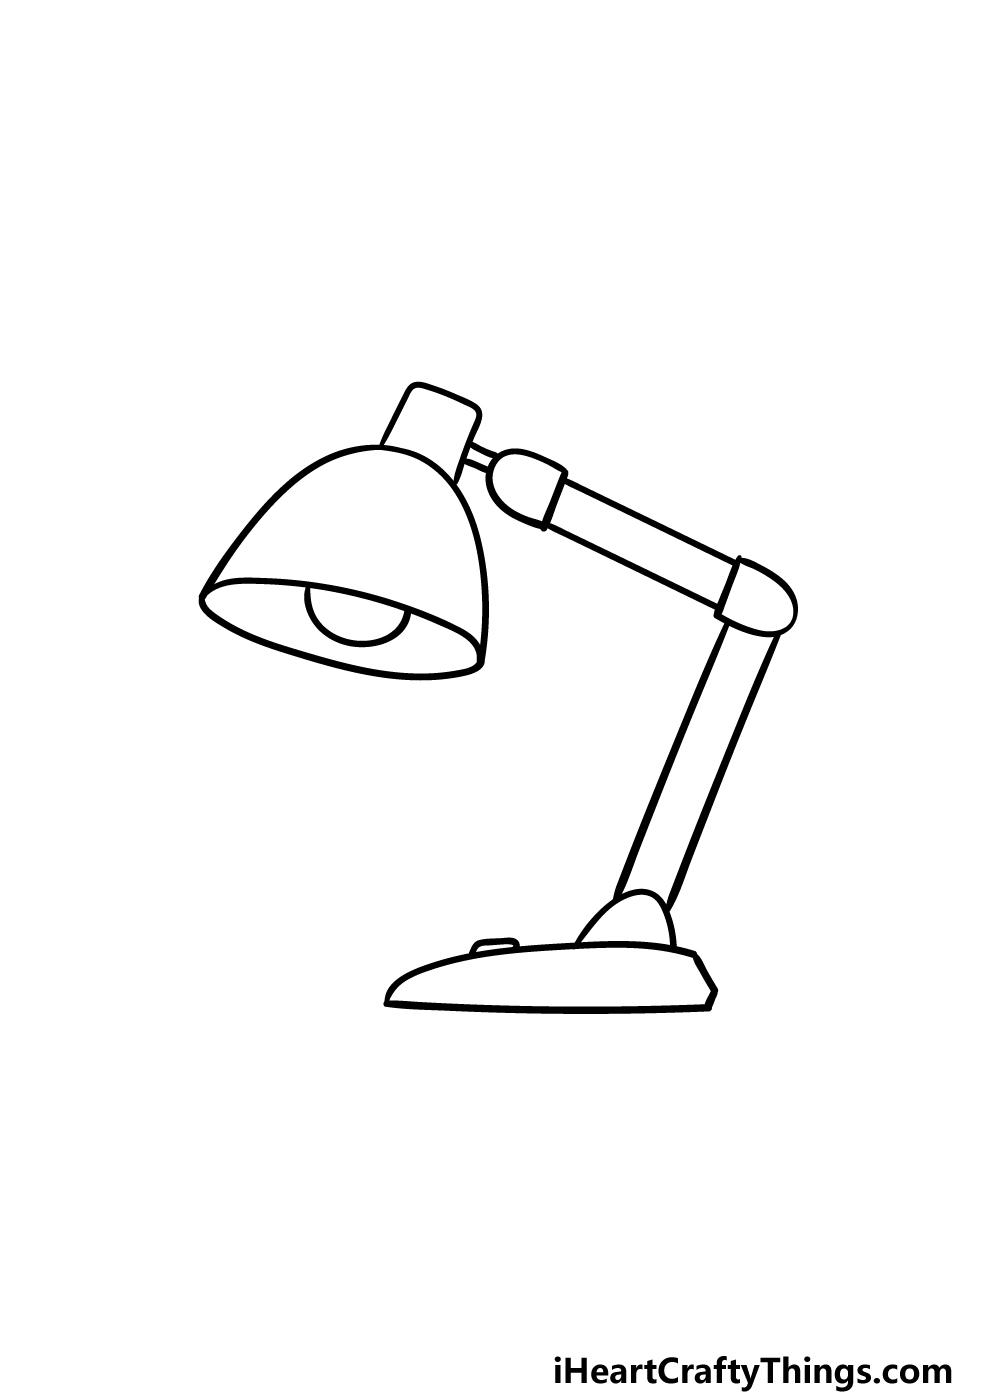
In this step of our guide on how to draw a lamp, we will be finishing off the arm and the base outlines to have you ready for some final details.
First, draw another one of those shapes that has a rounded edge opposite a straight edge as you drew in the previous part. Then, extend two more straight lines at an angle coming down from this shape, and this will lead to the base.
The base is pretty simple, and it can be drawn as a fairly flat shape with a small switch on top of it. The area where the base connects to the arm will also have one of those same rounded shapes.
When you have replicated these aspects as they appear in the image, you'll be ready for the next step!
Step 4 – Now, keep adding more detail to the lamp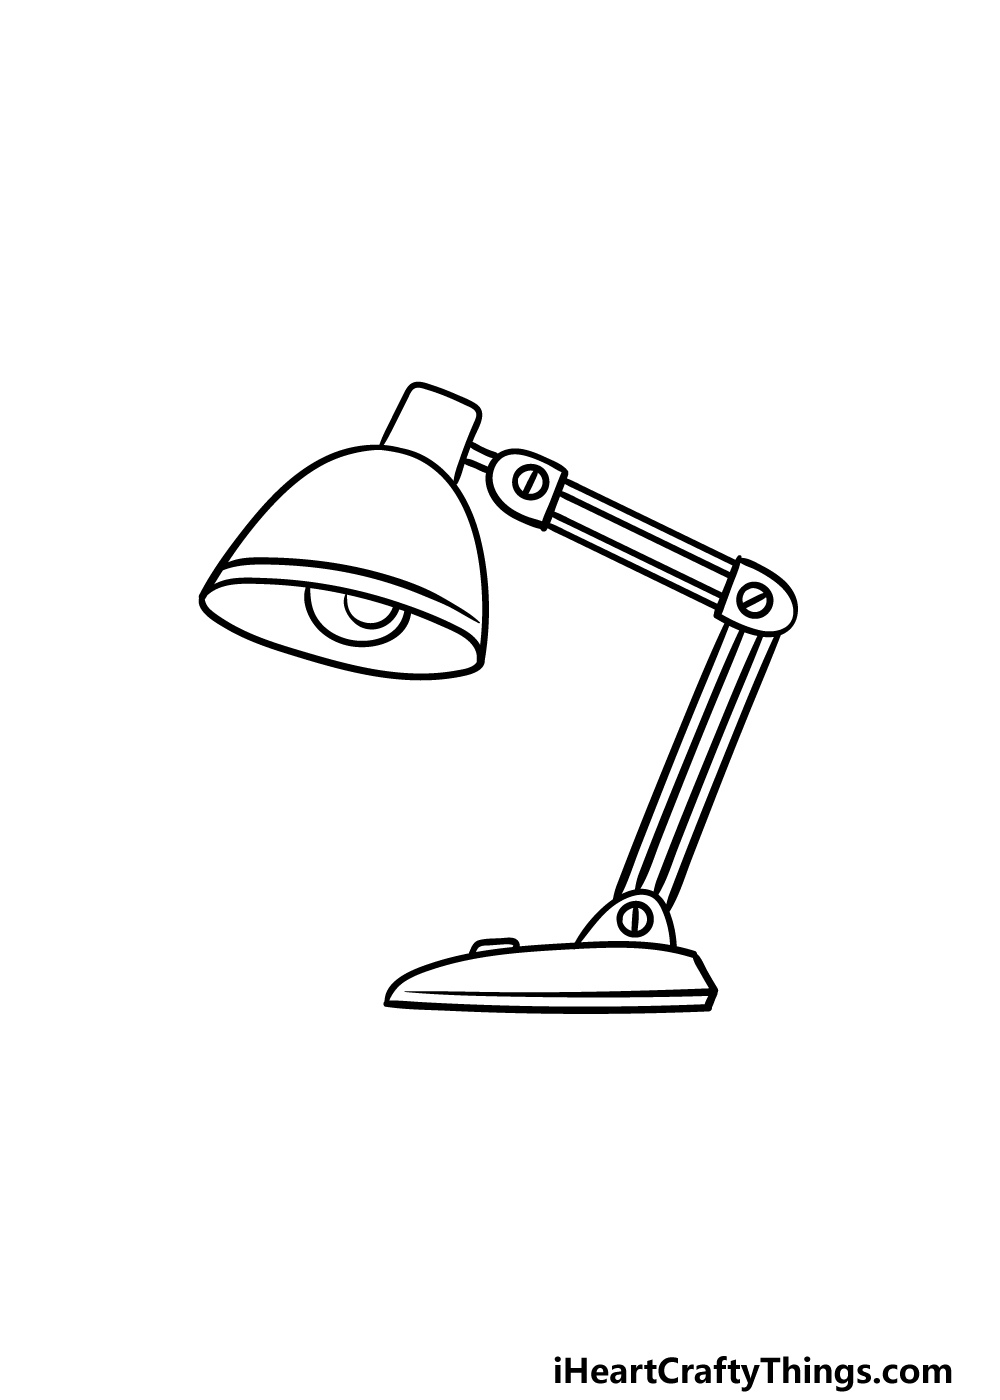
We will be adding some finer details in this and the next step of your lamp drawing.
We shall focus on the arms first, and while they may appear to be made of solid pieces, they are actually made of two wires per arm.
To create this effect, simply add some more straight lines running parallel to the inner edge of the arm outlines.
That sounds more complicated than it actually is, and the reference image will show you how it should look!
Then, add some screws to the connective pieces of the arms by adding a small circle with a line through it on each of these connective parts.
Finally, you can add some line details to the head of the lamp as well as the bulb and base.
Step 5 – Finish off your lamp drawing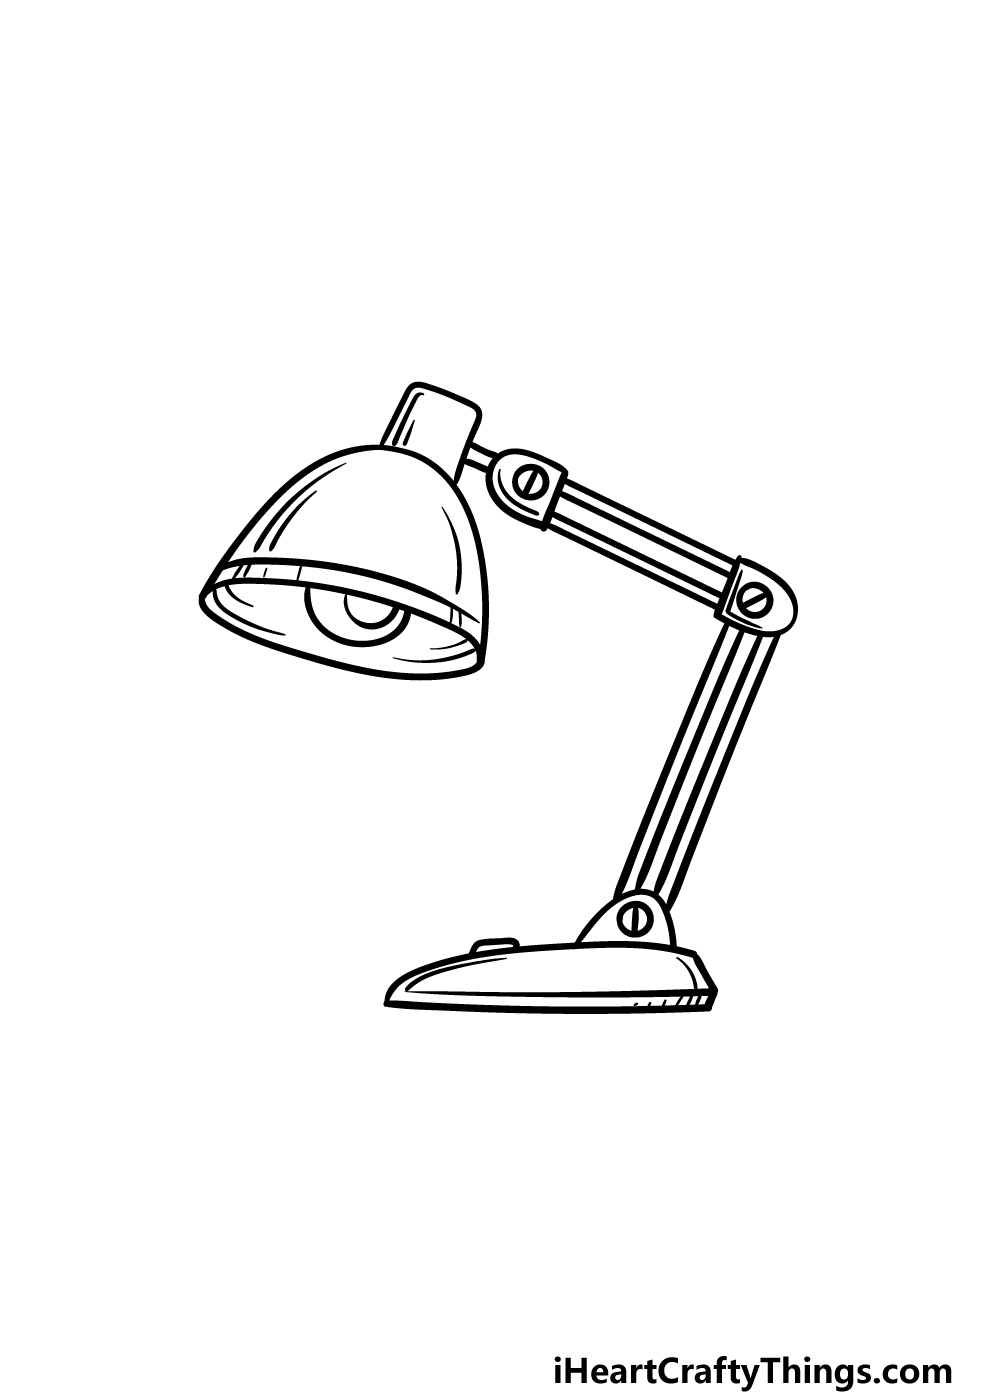
You have the entire outline of the drawing complete at this point of our guide on how to draw a lamp, so now we shall finish off with some final details.
We kept these details quite subtle in our example image. By adding some simple line details to all the pieces of the lamp, you can make the lamp have a bit more definition.
Once you have added these line details, you can also add some of your own! You could change up the design and details of the lamp, or you could give it some more context by drawing a background.
By drawing a background, you could show the desk that this lamp is sitting on and draw some more objects to accompany it.
What kind of setting would you put this lamp in?
Step 6 – Finish off your lamp drawing with some color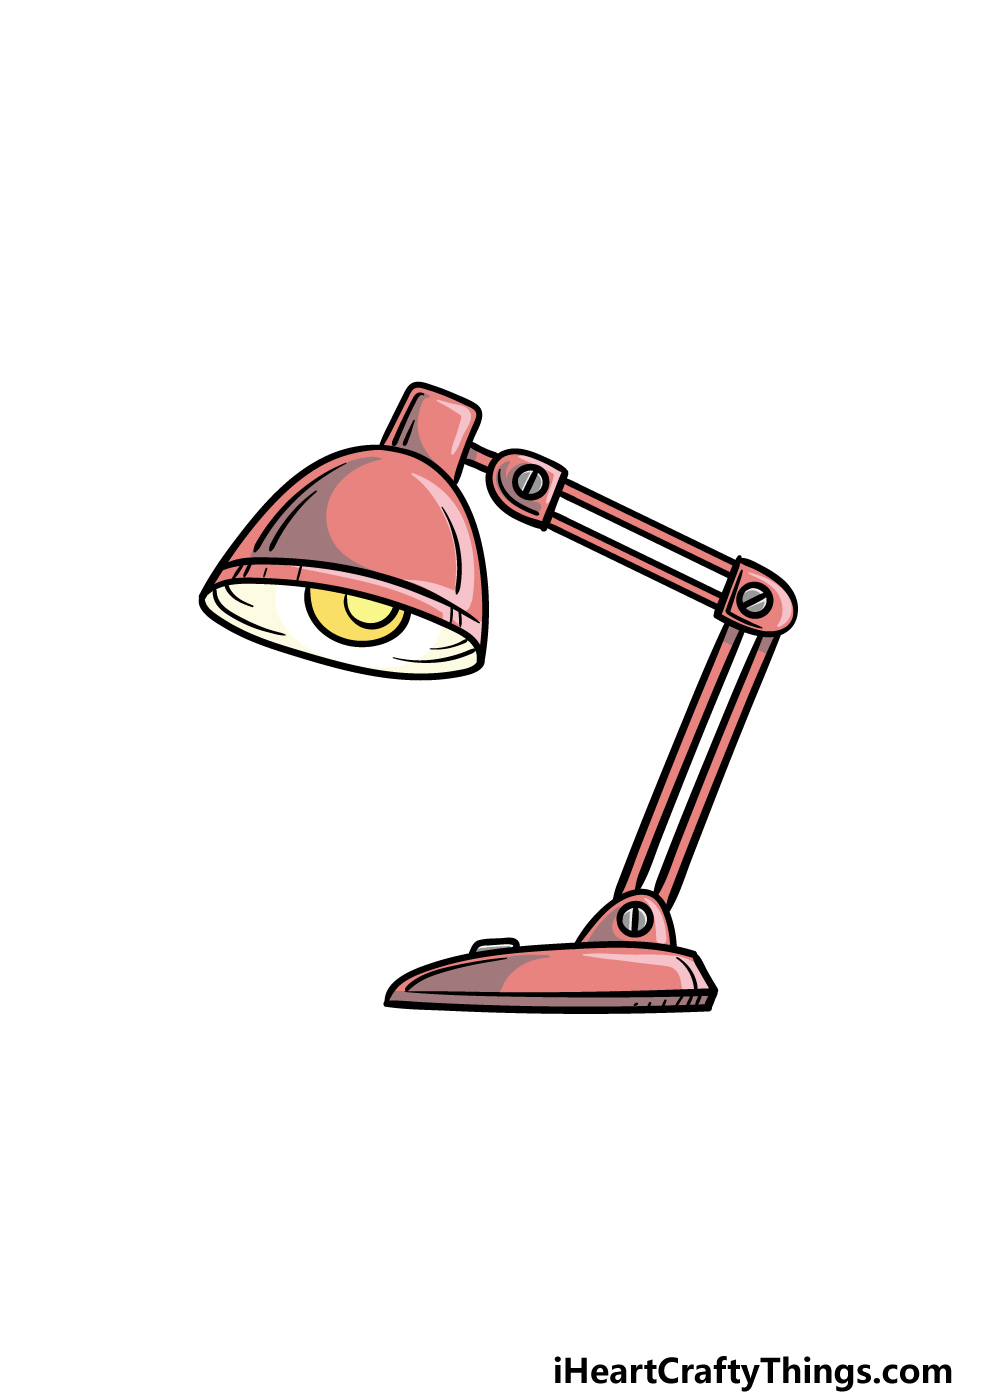
Nothing finishes off a picture quite like some amazing colors, and that is what we shall add for the final step of your lamp drawing! In our reference picture, we showed you the color scheme that we would go with.
These include shades of red and yellow for the lamp and light source, but these colors are just our suggestion.
You could go for a similar color scheme if you like the look of it or use completely unique colors of your own choosing! Which approach will you take for your lamp drawing?
Your Lamp Drawing is Complete!
You have completed all of the steps in this guide on how to draw a lamp, and now you have a great drawing to show for it!
Objects like lamps can often seem like they would be easy to draw, but often they can prove to be more difficult than expected. We hope that this guide made it a fun and easy challenge for you!
We also designed this guide to give you some room for your own designs, so be sure to change up some of the details and add some elements of your own for some unique variations.
Then, you can visit our website for your next drawing guide to take on after this one. We have tons of great guides with more coming out soon, so we hope to see you there soon!
Once you have completed your lamp drawing, please go ahead and share your artwork on our Facebook and Pinterest pages for us to enjoy!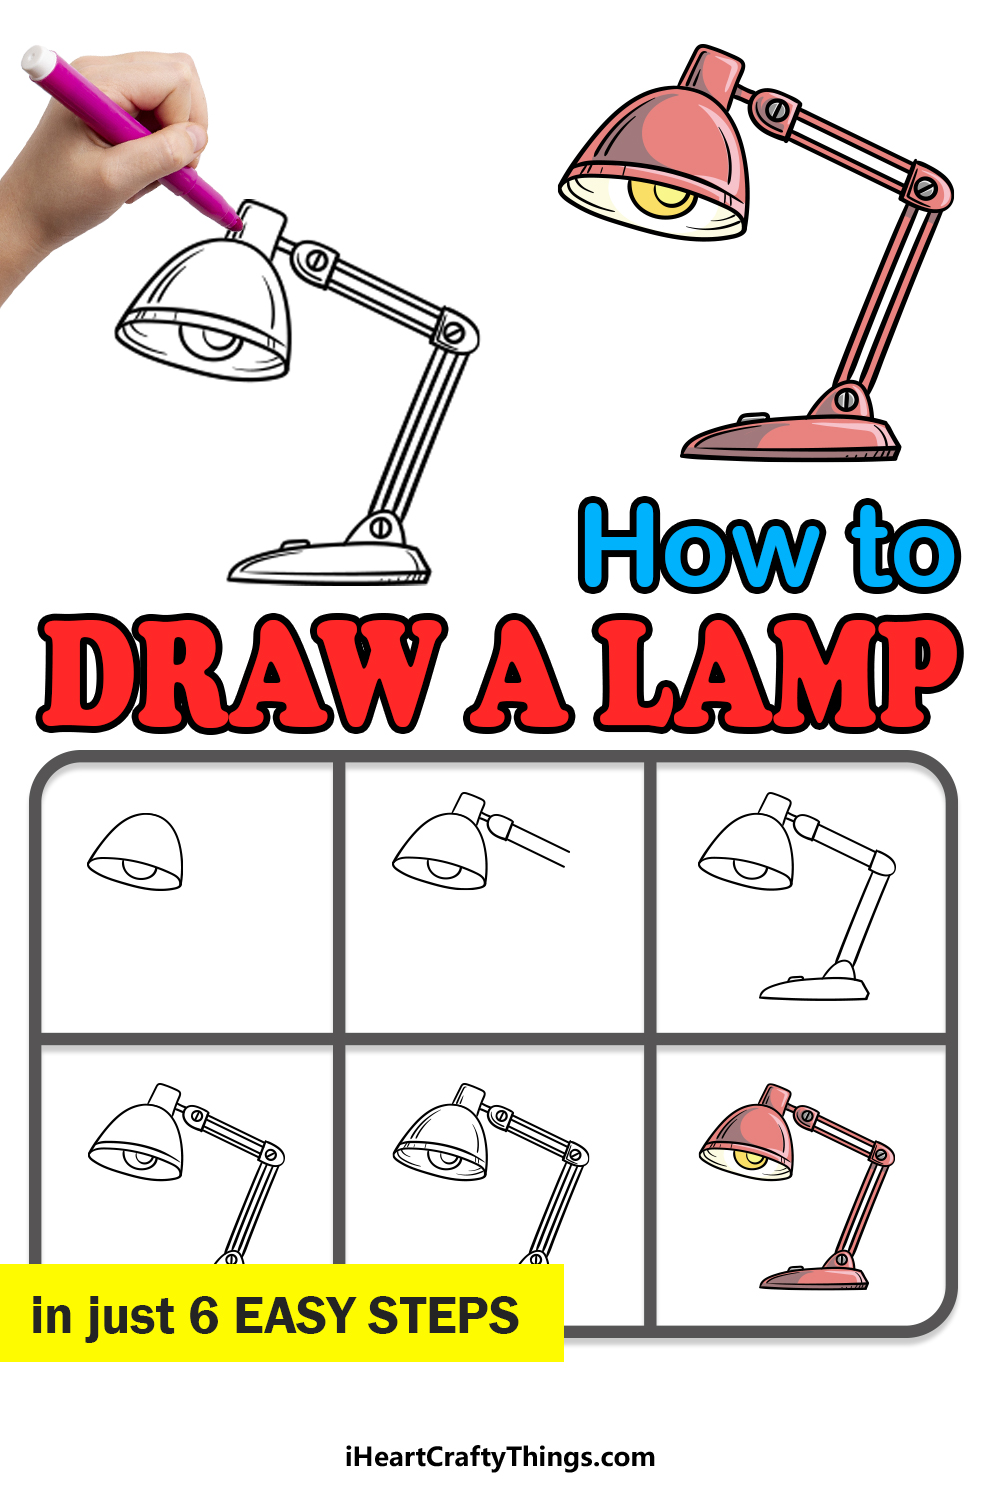
how to draw a lamp
Source: https://iheartcraftythings.com/lamp-drawing.html
Posted by: andersonlighbothe56.blogspot.com

0 Response to "how to draw a lamp"
Post a Comment